Final Reflective Free Inquiry Post

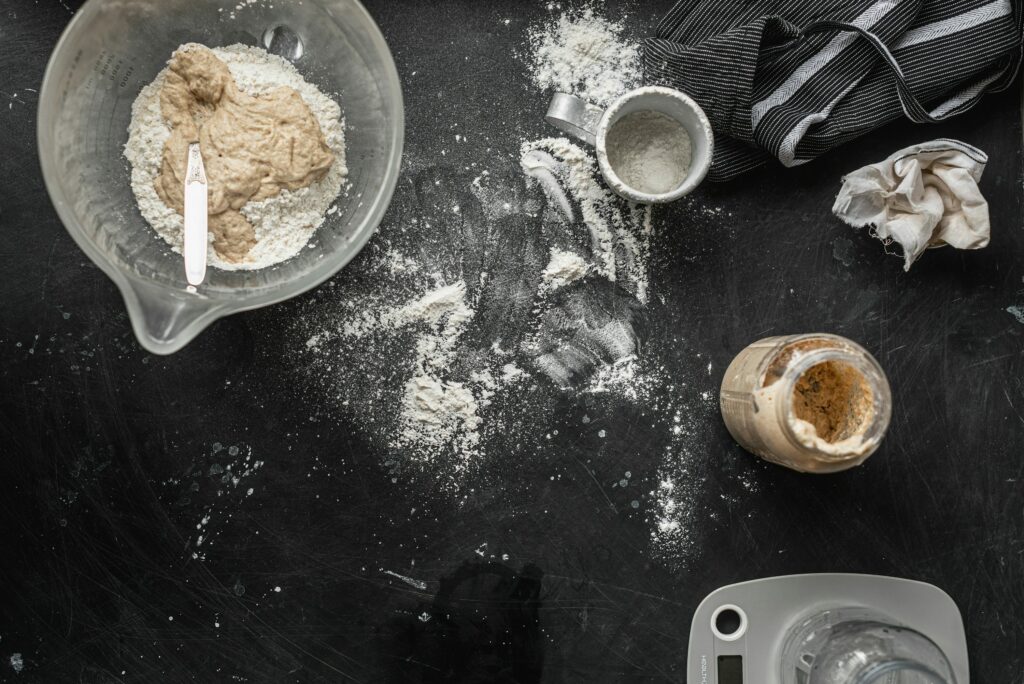
white ceramic mug beside clear glass bowl

Photo by Anshu A on Unsplash.com

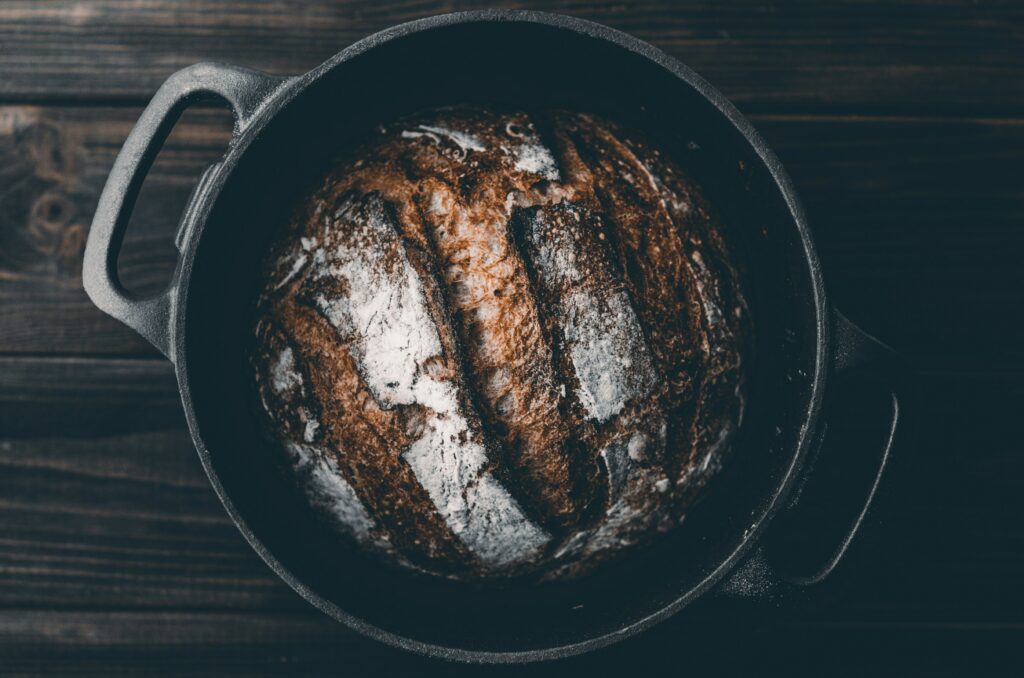
Overall, I am proud of my success throughout my sourdough bread-making journey. I started by creating my own starter, which is not a process for the weak. It required extensive effort and daily care to grow the starter in the beginning, which took me two tries to get right. After this stage, it still took another week or two to strengthen my starter enough to make bread with. My first loaf was extremely unsuccessful due to my impatience. It was necessary to wait until my sourdough could successfully pass the float test before making bread, and once it did, my bread was completely different. I did make a few good loaves of bread that I enjoyed, but I wish I could try making them in a Dutch oven to see if it would change the composition of the dough and potentially reduce the size of the air bubbles that I always had in my bread. This would make the bread more useful as I had hoped to replace the bread that I bought from the store at the beginning of my project, but never fully could. 

Throughout the semester I faced many setbacks in my sourdough. These included the over-development of my starter’s hooch, forgetting to feed my dough, feeding with the wrong flour or water, getting feeding proportions wrong, failing to pass the float test, and messing up the rising process of the dough. Below are a few sources that helped me with these setbacks:

  1. A blog for beginner sourdough bread makers
  2. A blog I used when creating my starter
  3. A blog that helped with starter hooch

I hope to continue making sourdough and eventually get a Dutch oven and kitchen scale to make the cooking process and proportioning more successful throughout the process. I plan on continuing to maintain both of my starters and to make bread with them every once in a while. I found this project very informative and engaging while going through several different trial-and-error processes throughout the semester. I appreciate the opportunity our class had to learn something new and entirely out of our comfort zones.
Comparing Starters

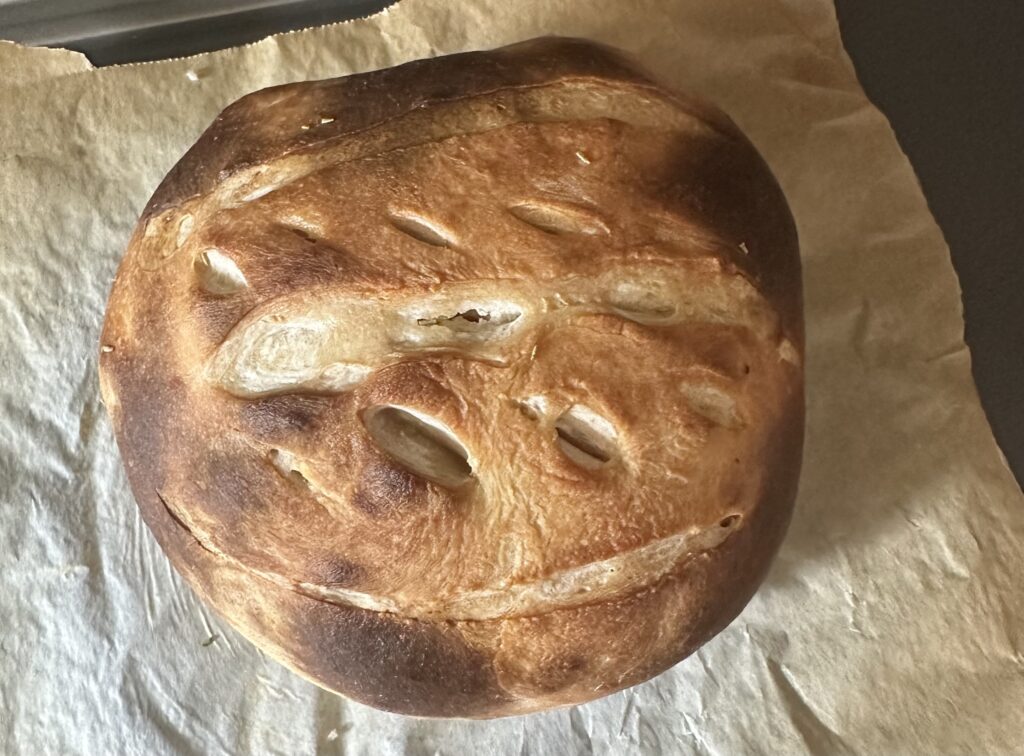
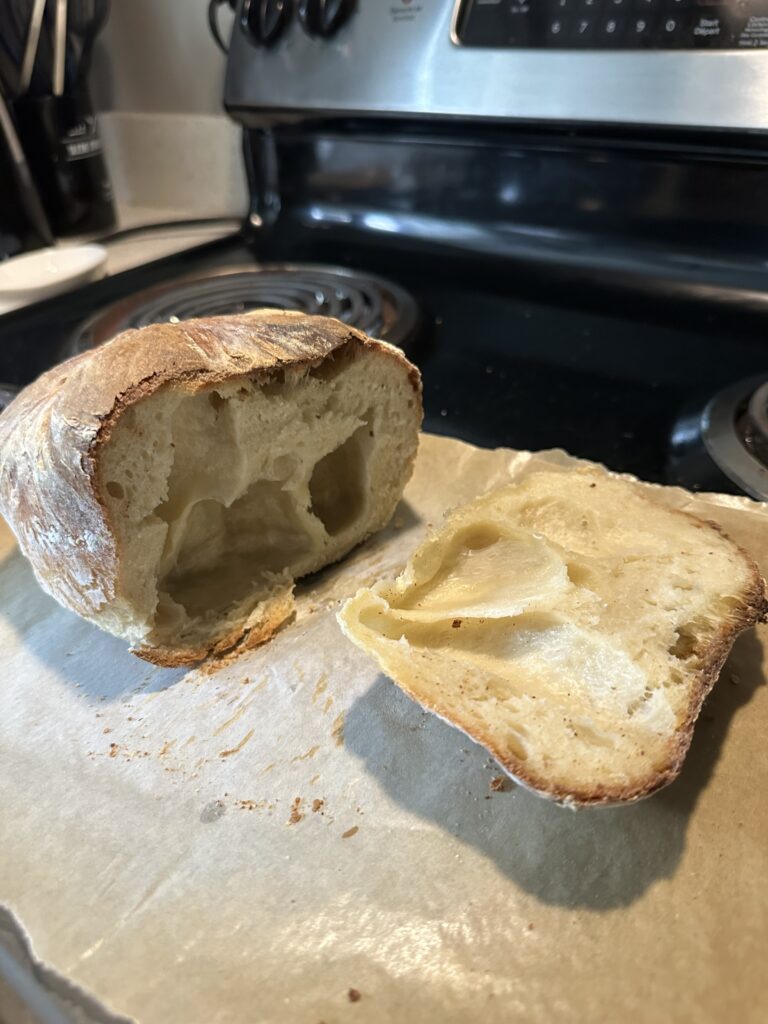
Above is a photo of my original starter’s loaf. Notice the large air pockets.

In the past two weeks, I tried making a loaf with each of my starters. I hoped for both of them to pass the float test, rise during the dough process, and form properly while cooking in the oven. However, I was not feeding my starters throughout the break and refrigerated them too long, causing my second starter to lose a lot of the progress that it had made. 

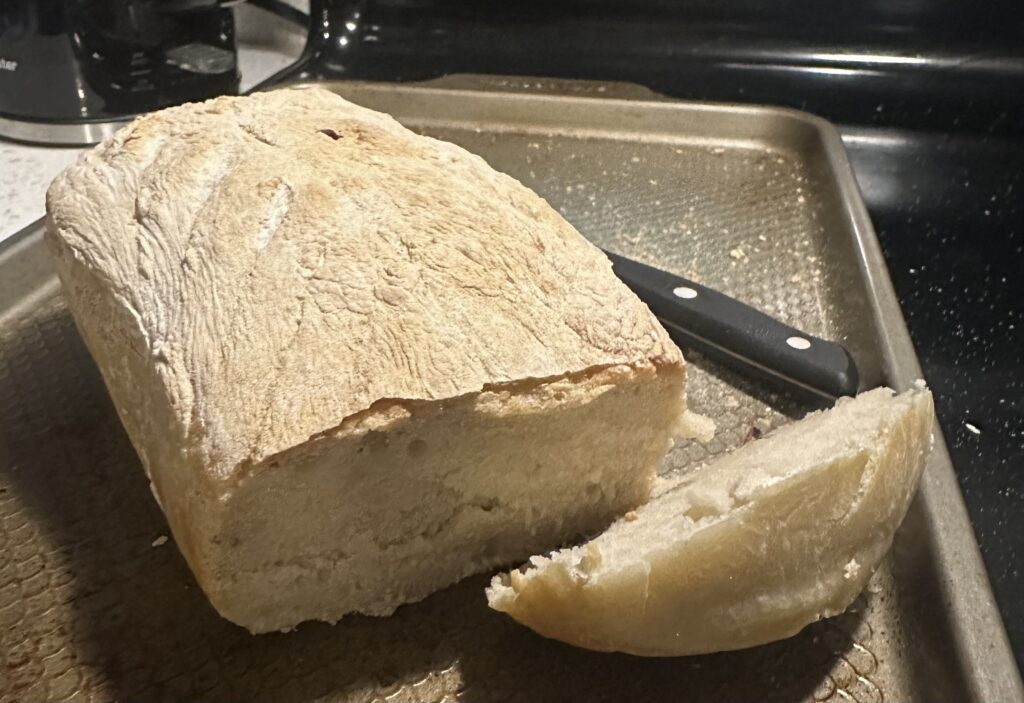
Because of this, it did not pass the float test after 24 hours on the counter with two feeds. I tried making a loaf with it anyway and it did not go well. Firstly, the dough was not rising or heating up after resting and it had no stretch when I did the pull and fold rotations. After letting the dough sit overnight, it only rose in the slightest but the starter seemed to be coming back to life and the dough smelled usual, so I cooked the bread anyway. It cooked similarly to my first loaf when it failed to rise and produced an incredibly thick, heavy, and doughy loaf of bread.

Fortunately, the bread that I made during the week before reading week using the original starter turned out quite well. It is photographed at the top of this blog post. It has large air pockets and smelled amazing while cutting into pieces than any of my prior loaves. One issue I am having is that the air bubbles are too big. This could be from preparing the dough incorrectly or from letting it rise for too long.

As I continue to progress through my sourdough-making journey, I continue to learn new things with each loaf and each setback that I approach. I have learned so much already and will learn from adjusting the dough each time, hopefully, to eventually perfect my sourdough loaves.

Two Starters

Unfortunately, this week I was not able to make a sourdough loaf due to sickness. Although, as I mentioned in my last post, I recently divided my starter into two.

I thought this would be an interesting topic to discuss because I learned a lot more about the ratios and functions of sourdough starters. I never weigh my portions because I do not have a scale which is a really helpful tool to perfect your portioning. However, I realized that I had not been feeding my sourdough properly. After beginning, I continued to remove 1/2 cup of starter and add 1/2 cup of both distilled water and flour. I learned during this change that the ratio your starter should maintain is 1:1:1 of flour, water, and starter. There are many other ratios that people decide to use that better suit their bread but this is the most common one, especially for beginners like myself. This explained a lot to me because I felt like my starter was outgrowing the jar I had started it in. This was due to me adding more than I was removing each day.

Because of this, I moved 1/2 cup of starter into a new jar and added 1/2 cup of water and flour, perfecting the 1:1:1 ratio. I started this only a day before making my last loaf, which was my most successful. But as I had mentioned, the older starter passed the float test and the new one with proper ratios did not. I made the loaf with my older starter and it rose well and had plenty of air bubbles.

After that experience, I thought my second starter might die off and I would continue with my original starter. Additionally, while I was sick this week, both of my starters were neglected and I did not feed them for two days. I was worried they may have both died and that at least my second one had. But after looking at them again today, my second starter has grown and become a stretchy and thick consistency with a strong yeast smell, meaning it is strong and potentially ready to bake with. It appeared to be even stronger than my original starter.

I am excited to see which starter is stronger and am planning to make a loaf with each and assess which one makes a stronger bread with consistent air bubbles and rising.

Second Loaf

My sourdough progress this week was like no other. It began with my first time refrigerating my starter. Once your starter is developed enough to make bread, you can refrigerate it for multiple days without feeding, reducing the waste of new flour and water.  What I did not realize was that you cannot create bread without allowing the starter to sit out and be fed for two days. This delayed my sourdough process a lot and made it more difficult to bake the bread during the week rather than the weekend as I had planned. 

I also took a portion of the starter and tried making a second one that could be smaller and easier to manage. However, when I put both starters through the float test, the original starter passed and the new one did not. This was really exciting because my starters had yet to pass this test sufficiently enough to make good bread, and this signified that they could finally reach their full potential. This would fix the problem of the bread not rising properly that I faced a week prior.

Although I feel this loaf was very successful, I still made a few mistakes in the process. The first one was taking the starter out of the refrigerator too late which delayed my plan. The other big mistake I made was leaving the dough to rest overnight before shaping it, which could have affected the rising and cooking of the bread. You can find a description of this process in the recipe I used here. Another problem I have continuously faced throughout the semester is not having a kitchen scale and a Dutch oven pot. These kitchen appliances are not essential, but extremely helpful in the sourdough-making process, and I wish I had known that before beginning.

The process of making the dough was tedious and lengthy. It takes around 48 hours before having a cooked loaf, involving several rounds of allowing the dough to rise and folding the dough with a specific technique. I did the steps slowly throughout the week when I found time and did not follow them as well as I could have if I had done it on the weekend. This may have affected the bread in some ways, but it rose enough and the bread turned out delicious.

First Loaf of Sourdough

This week, I made my first loaf of bread from my sourdough starter. It was a tedious and time-consuming process that I had not anticipated while starting the process.

My first surpise was that my starter was not mature enough on the tenth day like I had though it would be. I found this out by dropping a dollop of dough into a glass of tap water and watching to see if it would float or not. Mine did not, meaning there was not adequate oxygen in the starter and it would not rise my bread. This process is referred to as the float test.

After reading some more, I supposed it was because my starter was too liquidy. To fix this, I added the regular amount of flour and half the amount of water compared to the usual 1:1 ratio. This thickened my starter overnight and the starter floated slightly longer the next day. Since my starter is still quite young, it will not reach the full potential of maturity quite yet. Becuase of this, i thought it was time I could try baking with it.

As I began the dough-making process, I quickly realized that this was going to be a much longer than I had planned for. Creating the dough was the quick and easy part of the process, It involved very few ingredients and steps, however the stretching, folding, and rising of the dough was done on a specific schedule and was a very lengthy process. I let the dough rise overnight and unfortunately no time to finish the process until later the next day, so I decided to refrigerate it until later in the night. I then had to do a new strategy of streching and folding before baking the bread for near an hour. Many people bake their sourdough in dutch oven pots, but the bread pan that I used instead took longer to cook in.

I was happy with the end result but will be making changes to it as I make new loafs. The bread did not rise as much as I had hoped and it became quite dense because of this. I also felt it was quite plain, so I am going to adjust the type of flour I use and add other ingredients to the dough before cooking.

You can find the recipe I followed here.

Sourdough Starter Progress:

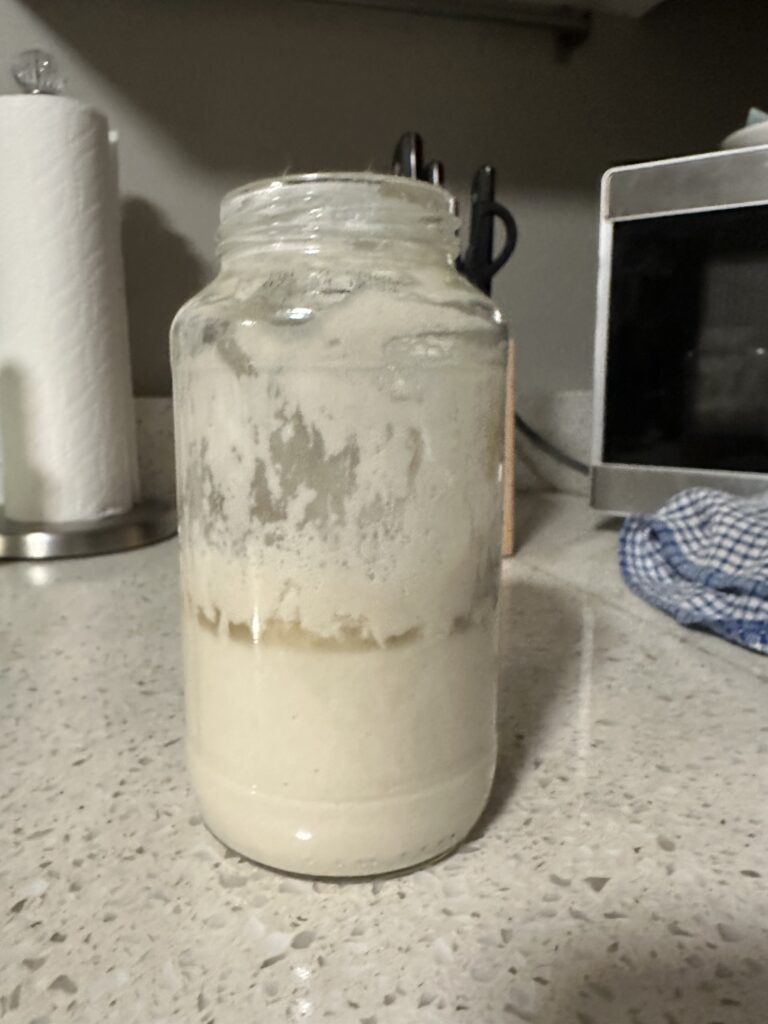
My second sourdough starter has been much more successful so far. I have noticed more bubbles and it has begun to smell like bread. This is much different from my first attempt, as it continuously smelled rotten and developed no bubbles or culture. I have been feeding it much more regularly and using proper water in the process. I am now on the sixth day of my starter and it will be ready to bake on the tenth, so I am hopeful of the success of my second starter. 

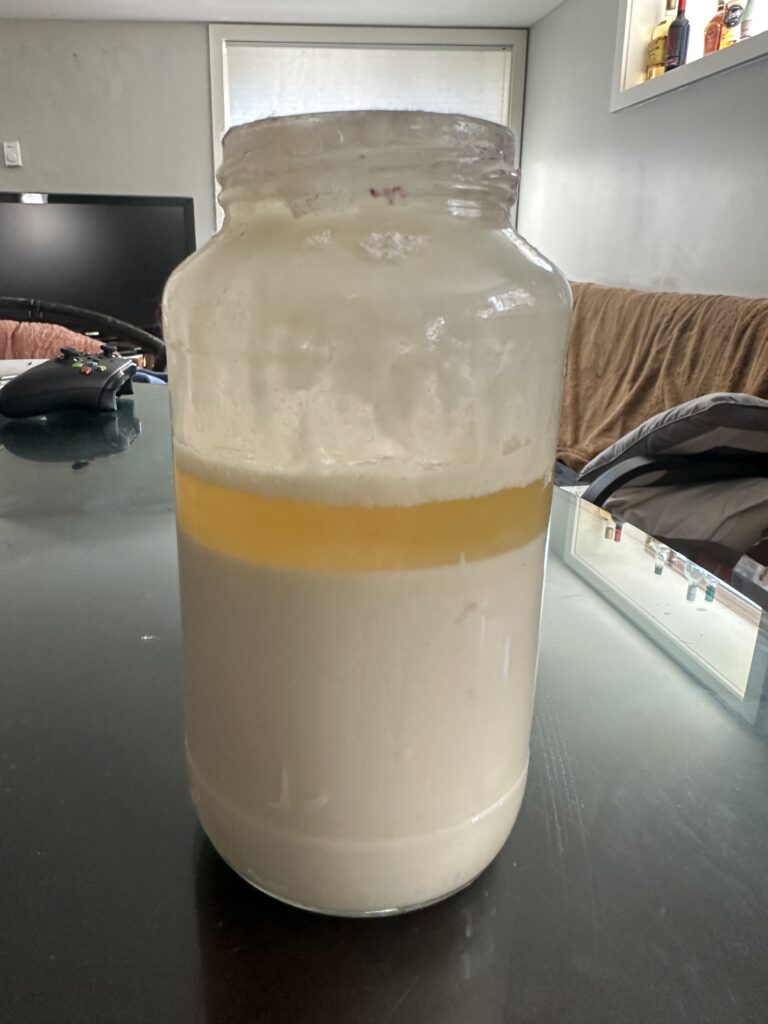
While doing regular research on my project, I realized that the liquid forming on top of my starter is referred to as a “hooch” and it does not signify that your sourdough has gone bad. This is visible in the photo of my starter included above. Stephanie Bruce from Gathered in the Kitchen discusses how starters forming a hooch is a normal process and that it signifies that the starter is hungry. She also states that it can easily be drained from your starter. Up until now, I have been stirring the hooch back into the starter, which can decrease the chances of success. This was a useful tip for me, and you can find many others from their website linked below: 

Trouble Starting Sourdough

Starting sourdough is a tedious process that requires you to attend to it each day, at least for the first 10 days. My sourdough starter was alive and well for a total of four days before I missed a day of feeding and, unfortunately, it died. However, I have taken away some valuable lessons from this and have a better chance at keeping it alive during my second attempt.

Throughout the past week, I made two mistakes that lessened the chance of my starter staying alive. My first mistake happened right at the beginning. I started my sourdough after 12am on the weekend, not thinking about how the starter works on a 24hr clock. This made it so that when I fed my starter each day, it would have to be the very last thing I did before bed, and it was often still too early. I was feeding my starter at the wrong time and also forgot on the last night because of the schedule I had created. This time, I began the starter at 6pm, a time that i am always home and usually cooking dinner, making it convenient for me to feed it.

The second mistake that I made was the type of water I was using. To properly start your sourdough, you must use distilled or bottled water due to the harmful chemicals that are present in tap water. When I first used tap water in my sourdough, there were almost no bubbles, which signified that the yeast was not activated and fermentation was not happening. When I switched to bottled water, the mixture seemed to ferment much faster and also produced a better smell than my previous one.

See tip #2 of Abigail’s Oven to learn more about the water you should be using in your sourdough (the other tips are helpful too!)

Inquiry Project Ideas

Photo by Arturrro on unsplash.com

While planning for the inquiry project, many ideas ran through my head. I enjoy healthy cooking and fitness, so I first thought of tracking runs and workouts or learning how to cook and developing a collection of recipes. Both of these choices would have allowed me to benefit myself through a school project, which is a great opportunity to take advantage of.

Since I am new to living off-campus, I thought bettering my cooking abilities would be more beneficial to me than documenting fitness. While starting to plan for my project, I realized that less broad topics within cooking would be easier to document progress and also less of a financial burden while in school. Because of this, I began researching ongoing projects that could be convenient and enjoyable while tracking my progress and learning.

This led my research towards sourdough bread. Making sourdough bread is an interesting process that can last millenials. It also benefits my household as we will no longer need to buy loaves of bread when we have consistent batches of sourdough available to us. You can also learn to make different types, shapes, and designs of sourdough bread, as you become more and more confident in the process. This allows for a lot of growth and progress that can develop throughout this semester. Making sourdough bread is also a skill that I can continue to practice and enjoy beyond this course project.

To begin the process, I read this blog by Nick and Ashley from Riggin Farm

They describe the science and history of the complex process of beginning, maintaining, and creating bread from sourdough starter. They also make the article accessible and enjoyable by including many images, relating to their own experiences, and maintaining simple diction that is easy for readers to digest. They explain the process from the beginning of creating the sourdough starter to maintaining the active yeast and making bread whenever you wish. It is a great resource for anyone new to the practice who would like to learn about more than just the process of creating it.