Photo by Anshu A on Unsplash.com
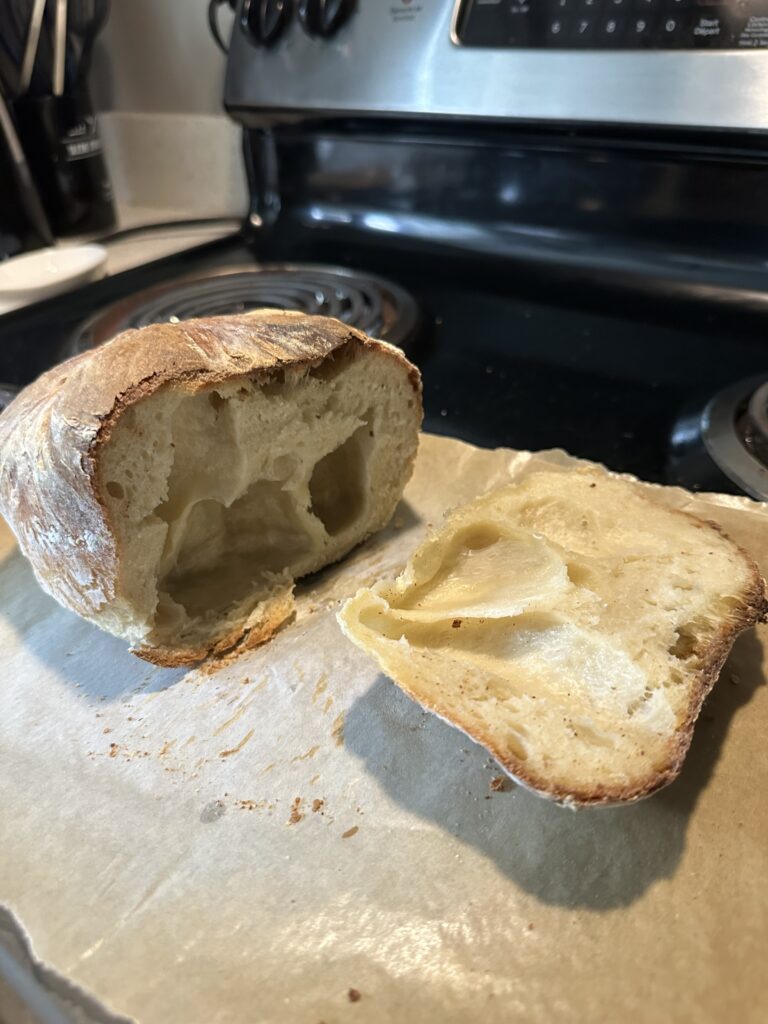
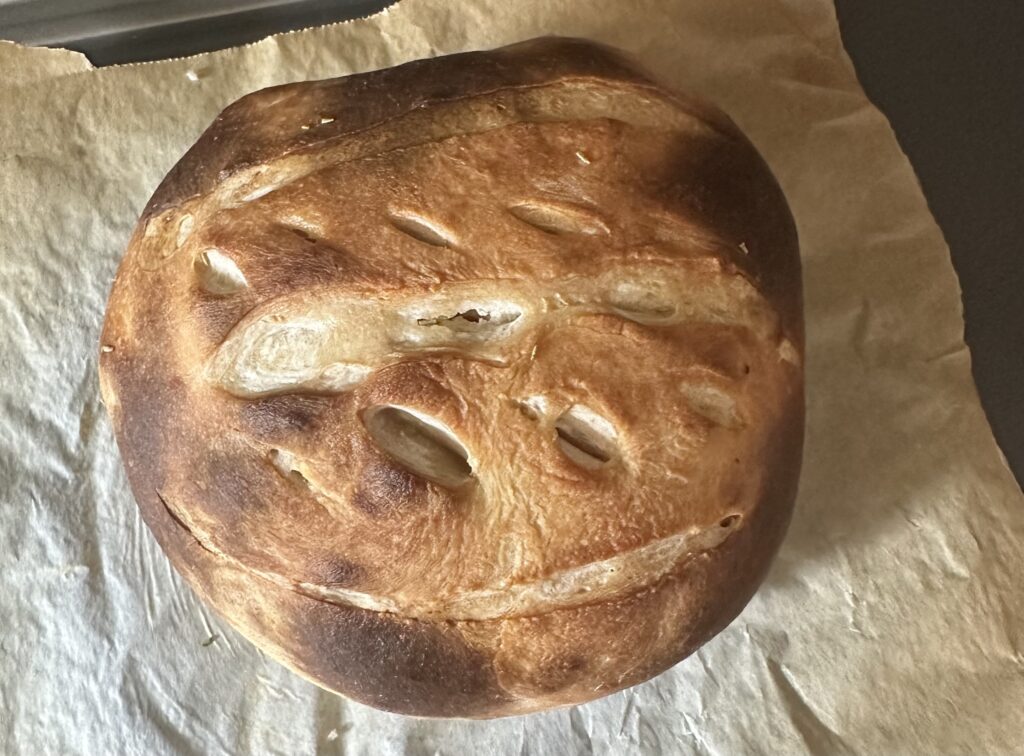
Overall, I am proud of my success throughout my sourdough bread-making journey. I started by creating my own starter, which is not a process for the weak. It required extensive effort and daily care to grow the starter in the beginning, which took me two tries to get right. After this stage, it still took another week or two to strengthen my starter enough to make bread with. My first loaf was extremely unsuccessful due to my impatience. It was necessary to wait until my sourdough could successfully pass the float test before making bread, and once it did, my bread was completely different. I did make a few good loaves of bread that I enjoyed, but I wish I could try making them in a Dutch oven to see if it would change the composition of the dough and potentially reduce the size of the air bubbles that I always had in my bread. This would make the bread more useful as I had hoped to replace the bread that I bought from the store at the beginning of my project, but never fully could.
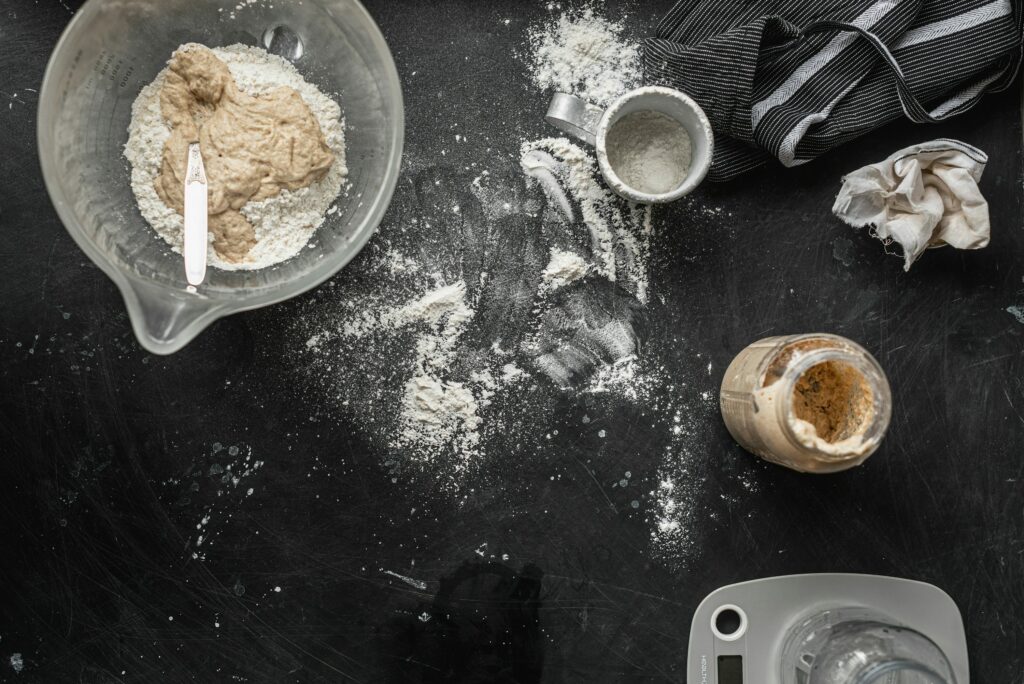
Throughout the semester I faced many setbacks in my sourdough. These included the over-development of my starter’s hooch, forgetting to feed my dough, feeding with the wrong flour or water, getting feeding proportions wrong, failing to pass the float test, and messing up the rising process of the dough. Below are a few sources that helped me with these setbacks:
- A blog for beginner sourdough bread makers
- A blog I used when creating my starter
- A blog that helped with starter hooch
I hope to continue making sourdough and eventually get a Dutch oven and kitchen scale to make the cooking process and proportioning more successful throughout the process. I plan on continuing to maintain both of my starters and to make bread with them every once in a while. I found this project very informative and engaging while going through several different trial-and-error processes throughout the semester. I appreciate the opportunity our class had to learn something new and entirely out of our comfort zones.